Integrating Microsoft Entra ID with Delinea Privilege Manager
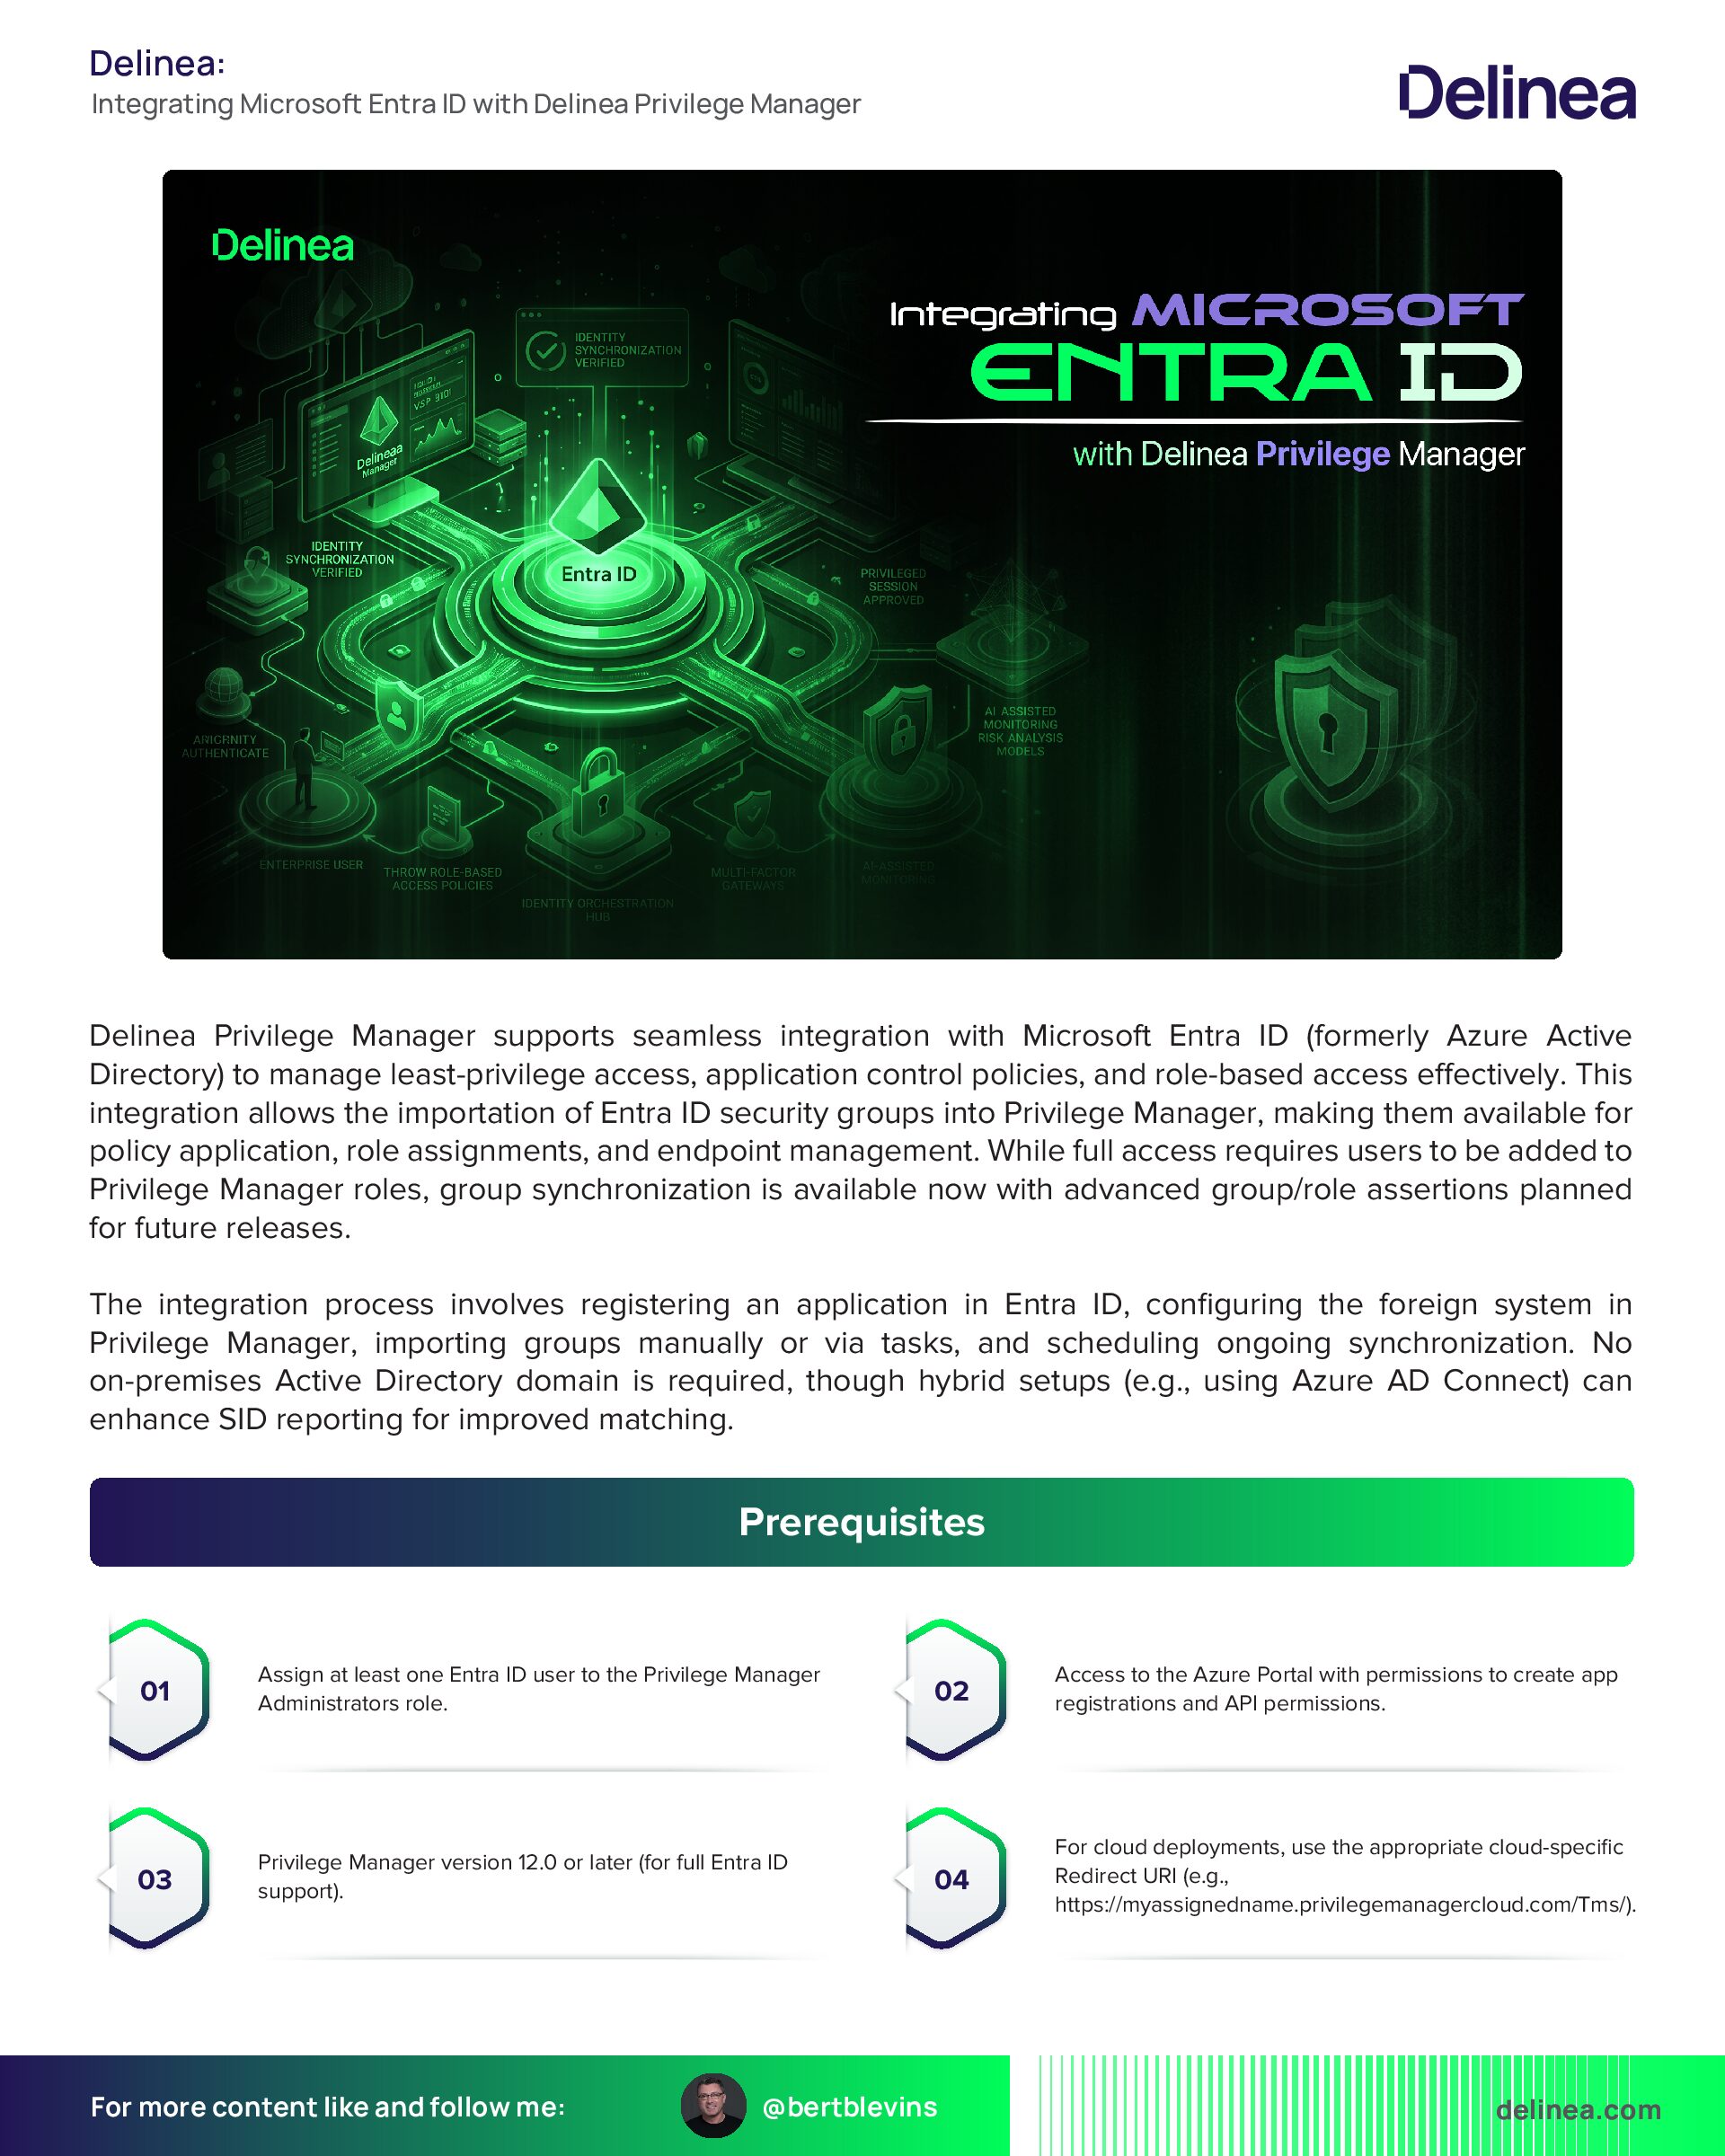
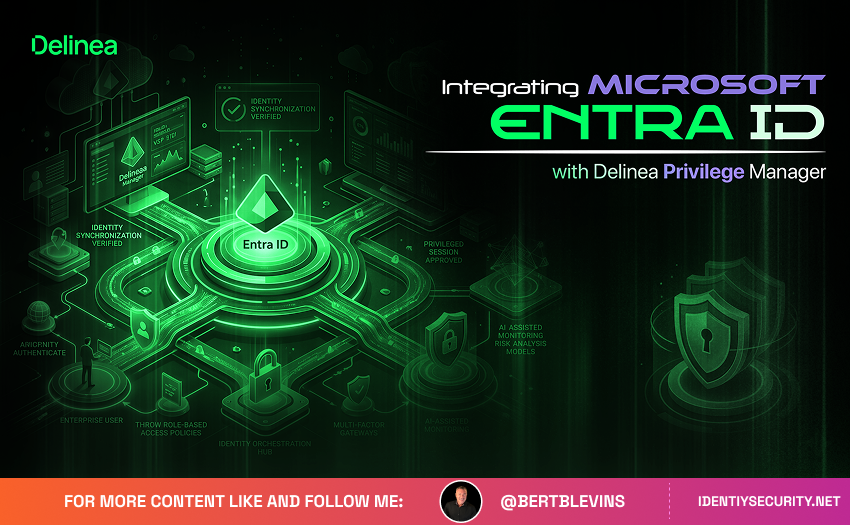
Delinea Privilege Manager supports seamless integration with Microsoft Entra ID (formerly Azure Active Directory) to manage least-privilege access, application control policies, and role-based access effectively. This integration allows the importation of Entra ID security groups into Privilege Manager, making them available for policy application, role assignments, and endpoint management. While full access requires users to be added to Privilege Manager roles, group synchronization is available now with advanced group/role assertions planned for future releases.
The integration process involves registering an application in Entra ID, configuring the foreign system in Privilege Manager, importing groups manually or via tasks, and scheduling ongoing synchronization. No on-premises Active Directory domain is required, though hybrid setups (e.g., using Azure AD Connect) can enhance SID reporting for improved matching.
Prerequisites
- Assign at least one Entra ID user to the Privilege Manager Administrators role.
- Access to the Azure Portal with permissions to create app registrations and API permissions.
- Privilege Manager version 12.0 or later (for full Entra ID support).
- For cloud deployments, use the appropriate cloud-specific Redirect URI (e.g., https://myassignedname.privilegemanagercloud.com/Tms/).
Step 1: Register Application in Entra ID (Azure Portal)
1.Log in to the Azure Portal and navigate to Azure Active Directory > App registrations > New registration.
2. Enter an Application Name (e.g., “Privilege Manager Integration”).
3. Under Supported account types, select the appropriate option (e.g., “Accounts in this organizational directory only”).
4. In Redirect URI, select Web and enter your Privilege Manager sign-on URL (e.g., https://myserver.example.com/TMS/ for on-premises or cloud equivalent).
5. Click Register.
Once registered, navigate to the app’s Overview page and note the Application (client) ID and Directory (tenant) ID.
Authentication Setup:
- Under Authentication, add additional Redirect URIs: https://myserver.example.com/Tms/Account/Signout/ and https://myserver.example.com/Tms/Account/SignoutCallback/.
- Enable ID tokens for Implicit grant and hybrid flows.
API Permissions:
- Add Microsoft Graph > Application permissions > Directory.Read.All.
- If upgrading from an older version, remove any legacy Azure Active Directory Graph permissions.
- Grant admin consent for the permissions.
Client Secrets:
- Navigate to Certificates & secrets > Client secrets > New client secret.
- Create a secret, set an expiration, and copy the Value (Client Secret). Ensure it is stored securely.
Step 2: Configure Entra ID in Privilege Manager
1. Log in to Privilege Manager as an administrator.
2. Navigate to Admin > Configuration > Foreign Systems tab > Azure Active Directory Domains.
3. Click Create and enter:
- Name and Description.
- Domain (e.g., contoso.onmicrosoft.com).
4. Click Create.
5. Edit the newly created domain:
- Verify the Sign-on URL matches the Redirect URI from Step 1.
- Enter the Azure Application (client) ID and Azure Client Secret from Step 1.
- Enable the Government Instance toggle if using a US Government cloud.
6. Click Save Changes.
7. Go to Azure AD Authentication Provider and click Edit:
- Enable Import Users & Groups from Azure AD.
- Assign Entra ID user(s) to the Privilege Manager Administrators role.
- Set this as the Authentication Provider (for SSO login).
8. Click Save Changes.
Step 3: Import Groups (Manual Sync)
1. Navigate to Admin > Tasks > Jobs and Tasks > Server Tasks > Directory Services.
2. Select one of the following tasks:
- Import Azure AD Resources: Imports all users, groups, and devices (recommended for initial full sync).
- Import Directory Users and Groups: Targeted import of users and groups.
- mport Specific Azure AD Users and Groups: Selective sync based on group names or Object IDs.
3. Click Run (or View > Run Task).
4. In the Task Parameters:
- Select your Azure Active Directory Domain resource.
- Enable Import Groups (optionally enable Import Users or Import Devices if needed).
5. Click Run Task. The import may take time depending on directory size.
6. To verify the sync:
- Go to Admin > Resources > Organizational Views > Default > All Resources > Security Principal > User Group.
- Browse imported groups; they will appear as external resources with Entra ID details (e.g., Object ID, SID if available via hybrid sync).
Step 4: Schedule Ongoing Group Synchronization
1. Follow Step 3 to locate the desired task (e.g., Import Azure AD Resources).
2. Click View.
3. Go to the Schedules tab > New Schedule.
4. Define the frequency (e.g., daily at 2 AM) under the Schedule tab.
5. On the Parameters tab:
- Select your Azure Active Directory Domain.
- Enable Import Groups (disable other options if only groups are needed to optimize performance).
6. Click Save Changes. The task will now run automatically to keep groups in sync.
Troubleshooting Tips
- Sync Delays or Failures:
- Check Task History under Admin > Tasks for errors.
- Ensure API permissions are consented and the Client Secret has not expired.
- Large directories may require incremental syncs (e.g., specific groups only).
- Group Matching Issues:
- Groups use Object ID and SID as keys.
- For hybrid environments, enable Azure AD Connect to populate SIDs for better caching and role matching.
- Replacing Old Integrations:
- Create a new Entra ID domain object instead of editing the old one, and recycle IIS application pools (for on-premises setups).
- Access After Import:
- Imported groups are read-only in Privilege Manager.
- Manually add users to roles for policy enforcement and monitor via the Resources view.
- No Groups Visible:
- Ensure Import Groups was enabled during the task run.
- For subsets, verify group names/Object IDs match exactly with Entra ID.
- Authentication Errors:
- Confirm at least one admin user is assigned before enabling as an Authentication Provider.
- Test login with an Entra ID user.
Conclusion
The integration of Microsoft Entra ID with Delinea Privilege Manager is a powerful solution that streamlines the management of user access, roles, and security policies across an organization’s infrastructure. By leveraging Entra ID’s capabilities for managing identities and Privilege Manager’s robust policy enforcement features, organizations can ensure a least-privilege model that enhances security and operational efficiency. The outlined steps for registering, configuring, and importing data between Entra ID and Privilege Manager provide a clear, structured approach for seamless integration.
With the ability to synchronize groups and roles directly from Entra ID, this integration helps automate and simplify user and group management while ensuring that security policies are applied consistently across all endpoints. Additionally, the ability to schedule ongoing group synchronizations ensures that user access remains up-to-date, minimizing manual intervention and reducing the risk of human error.
For organizations looking to enhance their identity management and access control processes, this integration offers a reliable, scalable solution that can evolve with future releases of both systems. Following the steps provided and troubleshooting tips will help ensure a smooth setup and ongoing operation, allowing organizations to maintain secure and efficient systems with minimal disruption.