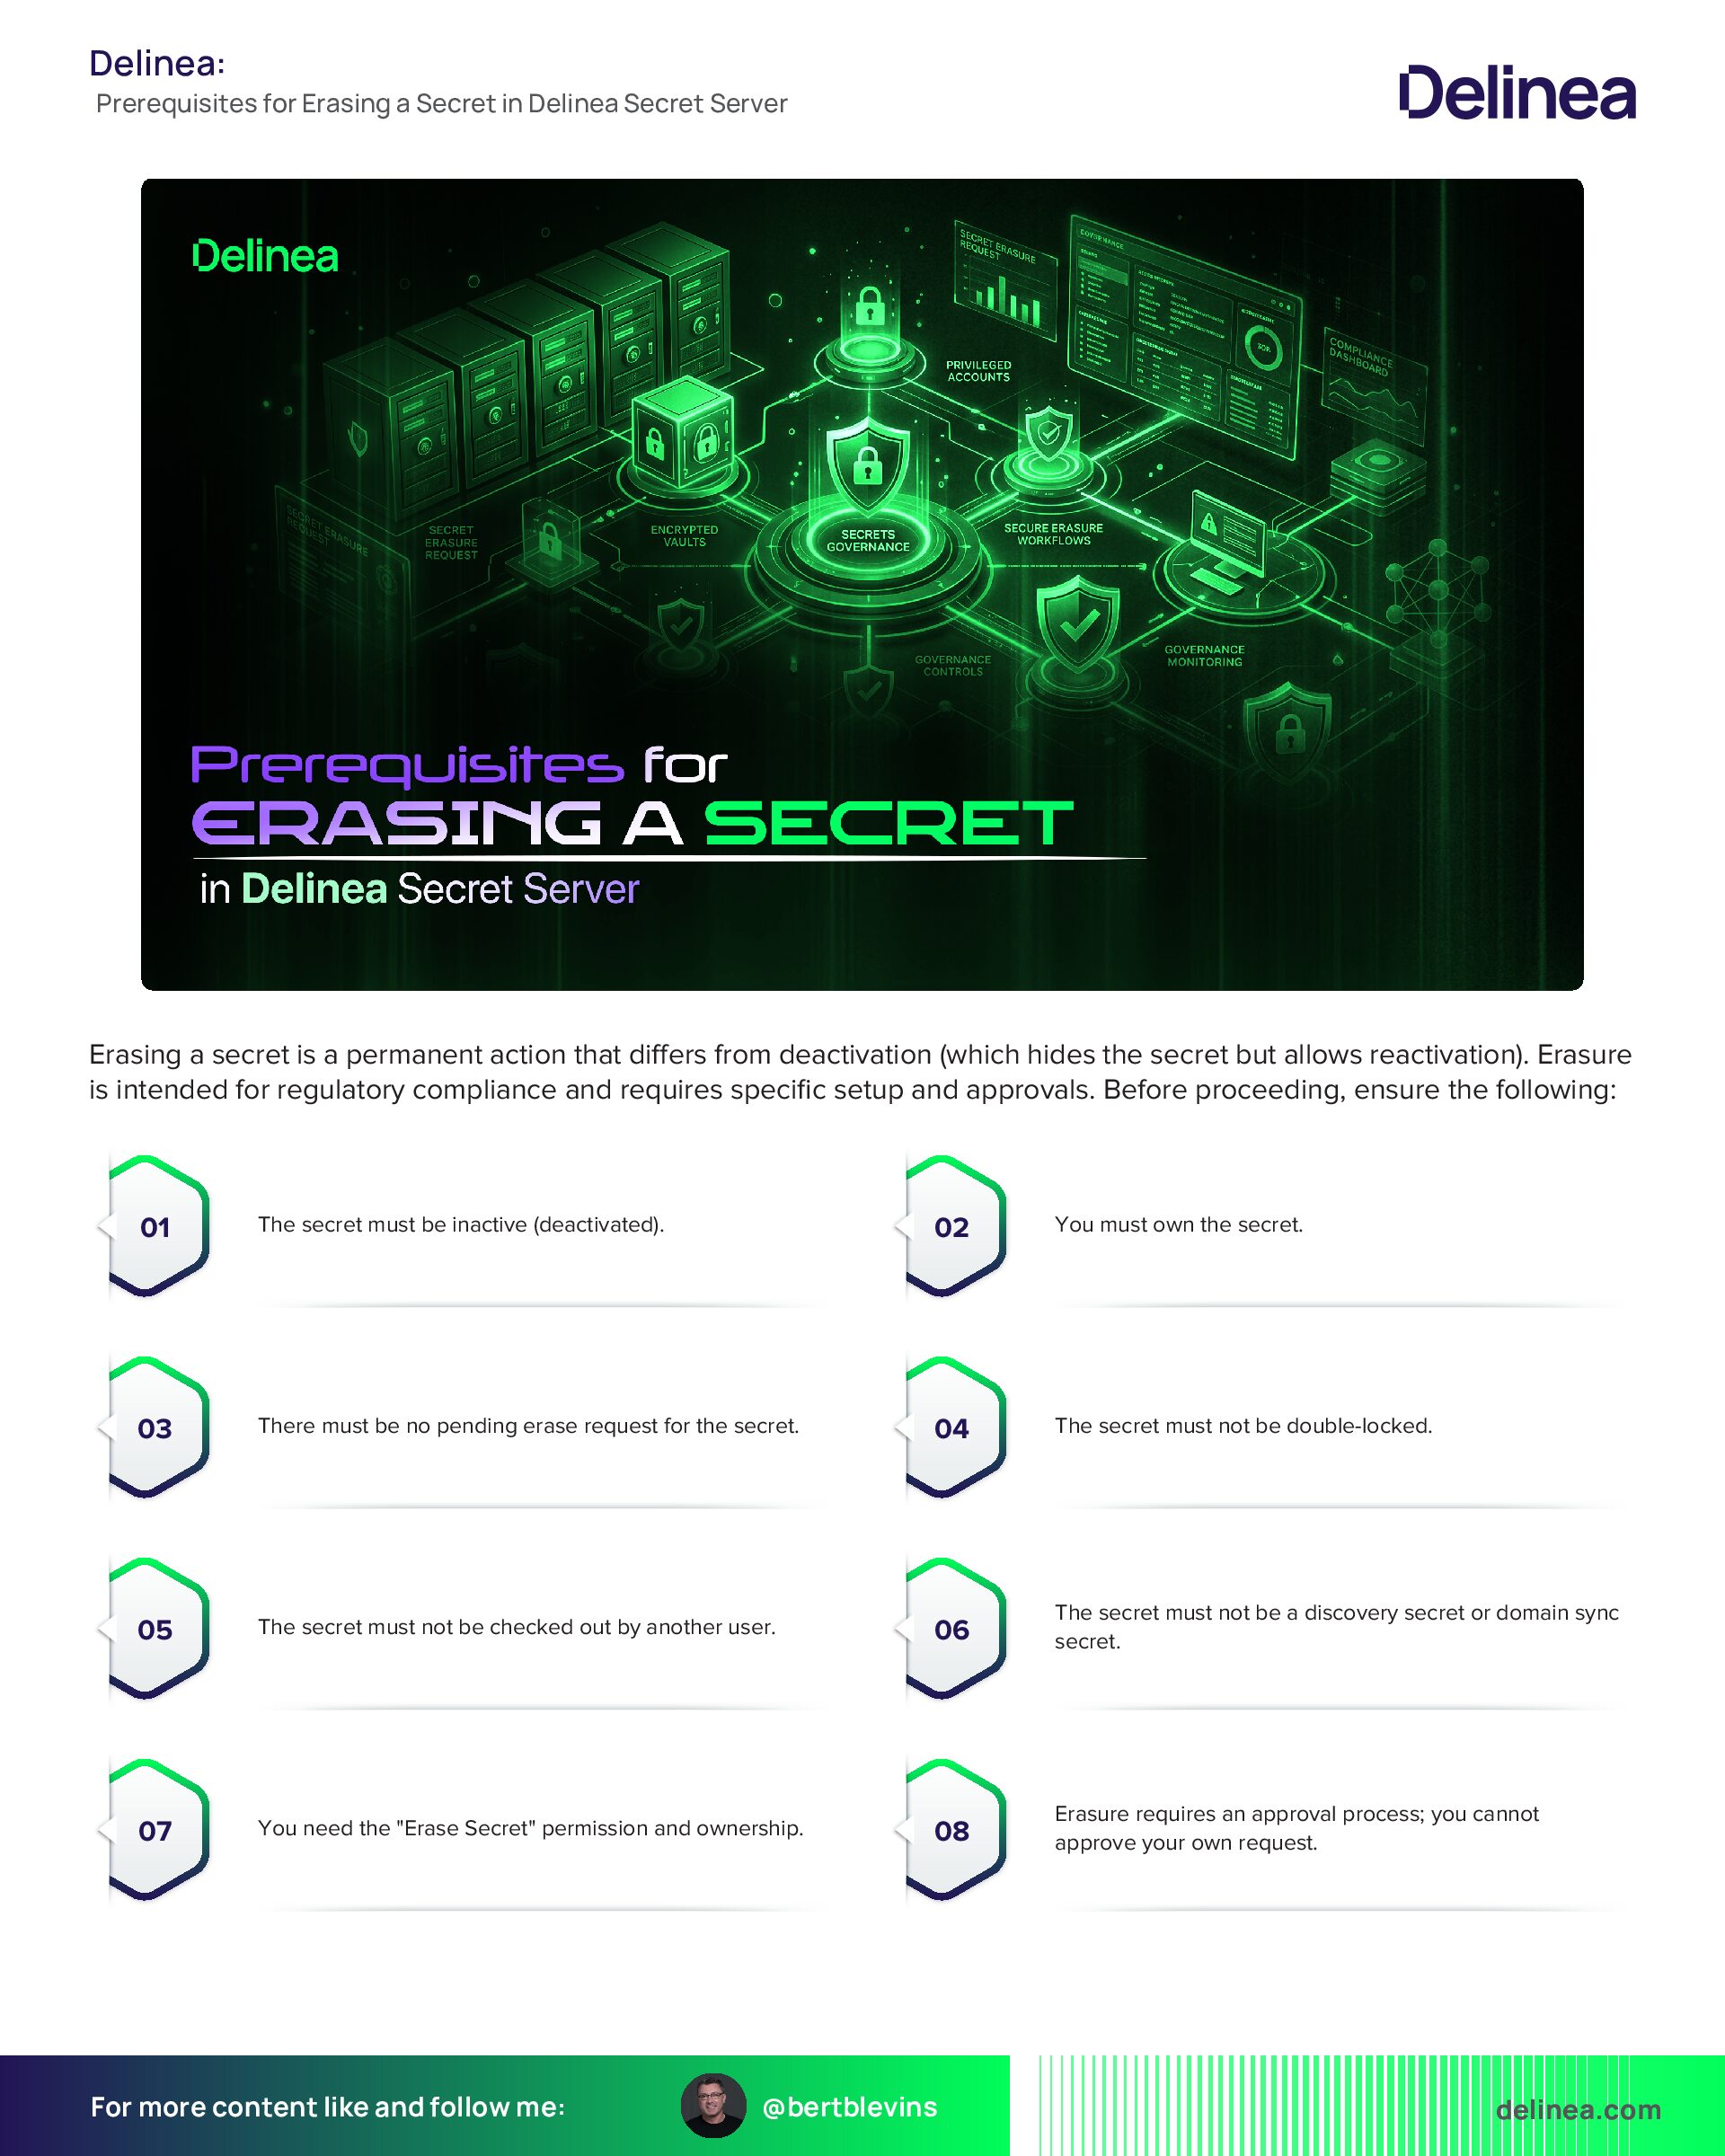
Prerequisites for Erasing a Secret in Delinea Secret Server
Erasing a secret is a permanent action that differs from deactivation (which hides the secret but allows reactivation). Erasure is intended for regulatory compliance and requires specific setup and approvals. Before proceeding, ensure the following:
- The secret must be inactive (deactivated).
- You must own the secret.
- There must be no pending erase request for the secret.
- The secret must not be double-locked.
- The secret must not be checked out by another user.
- The secret must not be a discovery secret or domain sync secret.
- You need the "Erase Secret" permission and ownership.
- Erasure requires an approval process; you cannot approve your own request.
- A workflow license for Secret Server is required.
- Familiarity with access requests, groups, roles, permissions, and workflows is necessary.
Configuration Setup for Secret Erase
If Secret Erase is not already enabled, configure it as follows (this requires administrative access):
1. Verify that a workflow license for Secret Server is available.
2. Navigate to Access > Roles and create a new role (e.g., “Secret Erase Requester” or “Secret Erase Administrator”). Select the Enabled checkbox.
3. Assign the Erase Secret permission to the role: Set Scope to “All”, search for “Erase Secret”, select it, and click Save.
4. Go to Access > Groups and create a group (e.g., “Secret Erasers”). Select the Enabled checkbox.
5. In the group’s Roles tab, click Edit, set Scope to “All”, search for and select the role you created, then click Save.
6. In the Members tab, add yourself (or relevant users) to the group.
7. Navigate to Settings > General > Workflow and create a workflow template named “Secret Erase Requests”. Assign it the Secret Erase Request type.
8. In the Designer tab, add approvers: Search and select users or groups in Add Groups / Users, add them to the Approvers list, ensure Enabled is checked, and click Save.
Note: Approvers cannot be the same as the requester.
9. Go to Settings > Configuration search > Secret erase configuration.
10. Click Edit, select the Enable secret erase checkbox, choose “Secret Erase Request” from the Secret erase workflow dropdown, and click Save. If no workflow appears, ensure one is set up.
Procedure for Erasing a Secret
Once setup is complete and prerequisites are met:
1. For testing or simplicity, create a new secret in your personal folder that meets all requirements (avoid using an existing one if unsure).
2. Navigate to the secret’s view page or select it in the dashboard.
3. To erase:
- Single secret: Click the More button (or Options dropdown) on the secret and select Erase.
- Bulk operation: Select the secret(s) in the dashboard, click Bulk Actions, then under Security, select Erase secrets. If the option doesn't appear, check configuration and requirements.
4. In the Erase Secrets popup:
- Set the Erase After Date using the calendar and time widgets (must be at least 24 hours in the future).
- Enter a mandatory Reason explaining why deactivation isn't sufficient.
5. Click Erase. A confirmation popup appears.
6. Confirm by clicking Erase Secrets Forever. Be certain, as this is irreversible.
The request goes for approval. Once approved, an automated process erases the secret after the specified date and time, scrambling its data permanently.
Additional Notes
- Erased secrets remain in the database for audit purposes but with scrambled data; they appear in folder views for verification.
- Do not erase large numbers of secrets, as it impacts performance and isn't for cleanup—use deactivation for that.
- For reactivation of deactivated secrets, refer to separate documentation on deactivating and reactivating.